 Home
Home
How to Create a Membership Quote/Membership?
You can create membership quotes or memberships for corporate entities or individuals.
1. Navigate to Membership > Manage Membership and click Create Memberships.

The New Membership > Membership Type Suitelet is displayed.
Note: All fields with an asterisk (*) are mandatory.
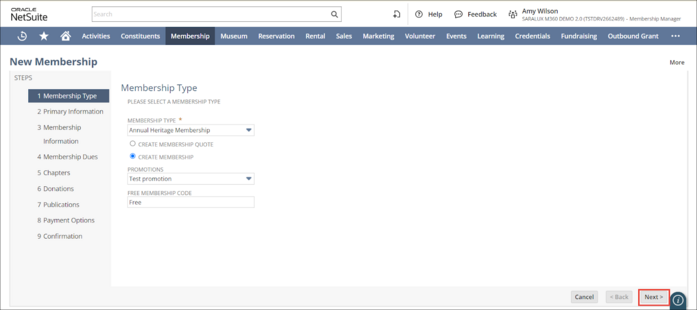
2. Select the type of membership from the MEMBERSHIP TYPE dropdown list.
Note: If a promotion code is configured for the selected Membership Type, it will automatically populate in the PROMOTIONS field.
3. Click CREATE MEMBERSHIP QUOTE to generate a quote for the membership or CREATE MEMBERSHIP to create a new membership for your customer.
4. Click Next.
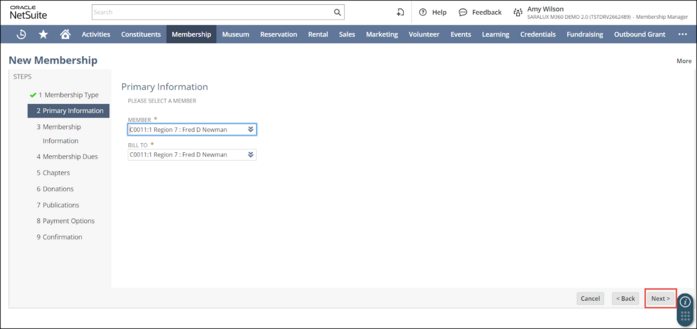
The New Membership > Primary Information Suitelet is displayed.
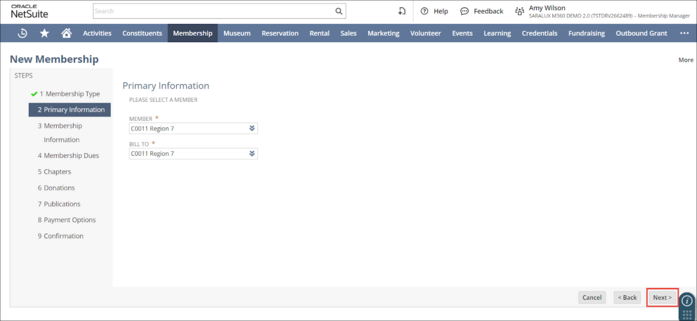
5. Select the customer availing the membership from the MEMBER dropdown list.
Note that if the desired customer is not listed in the MEMBER dropdown list, you can add them. For more information, refer to How to Add a New Potential Customer.
6. Select the individual / entity to whom the membership is billed from the BILL TO dropdown list.
Note that if the desired individual / entity is not listed in the BILL TO dropdown list, you can add them. For more information, refer to How to Add a New Potential Customer.
7. Click Next.
The New Membership > Membership Information Suitelet is displayed.
The Membership Information is autopopulated.
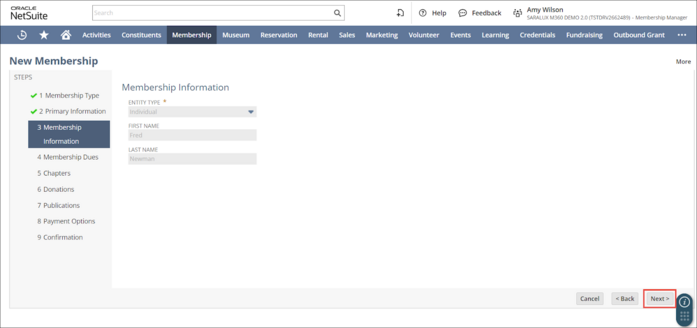
8. Click Next after ensuring the membership information is correct.
The New Membership > Membership Dues Suitelet is displayed.
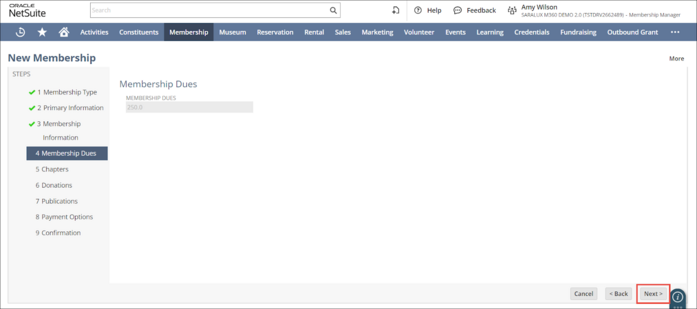
Note: In this example, the membership dues are predetermined based on the membership type selected. However, some membership types may calculate the membership fees dynamically.
9. Click Next.
The New Membership > Chapters Suitelet is displayed.
Note: The Chapters Suitelet is displayed only if the ALLOW CHAPTER DUES TAB is checked and the Chapters are configured in the selected Membership Type.
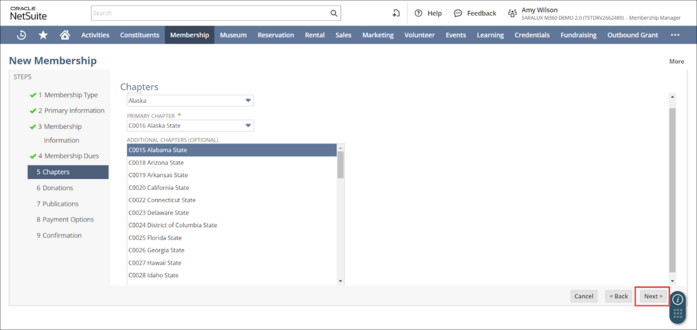
10. Select the state for the membership chapter from the STATE dropdown list.
Note:
-
By default, the State field under Chapters is automatically set based on the member’s address (when the membership is for individuals).
-
The chapters listed in the STATE dropdown list are determined by the chapters configured in the selected Membership Type.
-
Each member in this Membership Type is affiliated with a default primary chapter. However, the user can change the primary chapter when the ALLOW SELECTION OF PRIMARY CHAPTER is enabled in the selected Membership Type.
-
If the selected Membership Type has the ALLOW ADDITIONAL CHAPTERS feature enabled members can choose to join additional chapters.
11. Select the primary chapter affiliated with the selected State from the PRIMARY CHAPTER dropdown list.
12. Select the additional chapters that a member is affiliated with from the ADDITIONAL CHAPTERS field.
13. Click Next.
The New Membership > Donations Suitelet is displayed.
Note: The Donations Suitelet is displayed only if the ALLOW DONATION TAB is checked and the CONTRIBUTION PAGE ID is set in the selected Membership Type.
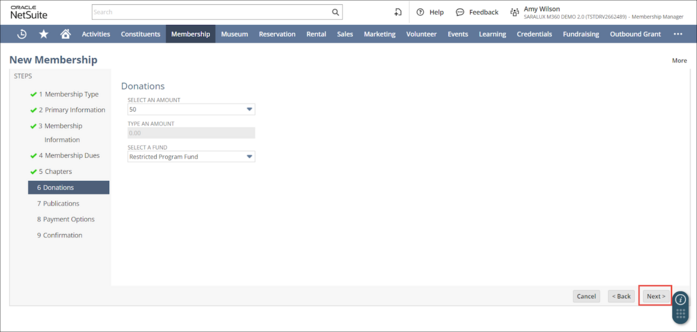
14. Select the donation amount the member would like to contribute from the SELECT AN AMOUNT dropdown list.
Note that if Choose another amount is selected from the dropdown list, the TYPE AN AMOUNT field is enabled, allowing the user to enter a desired contribution amount.
15. Select the fund from the SELECT A FUND dropdown list to direct the contribution.
16. Click Next.
The New Membership > Publications Suitelet is displayed.
Note: The Publications Suitelet is displayed only if the ALLOW PUBLICATION TAB is checked and the Subscription is configured in the selected Membership Type.
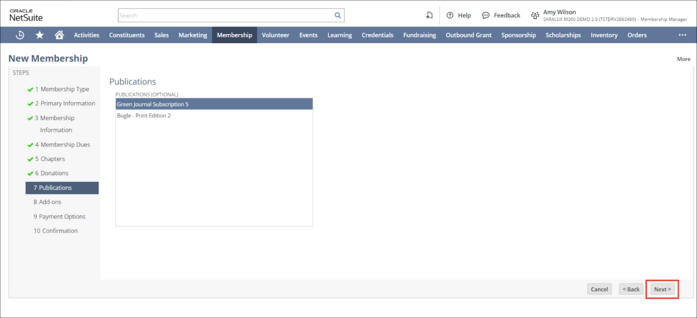
17. Select the desired subscription for the member. You can hold down the Ctrl key for multiple selections. This is optional.
18. Click Next.
The New Membership > Add-ons Suitelet is displayed.
Note: The Add-ons Suitelet is displayed only if the ALLOW ADD ON TAB is checked and the Add-ons section is configured in the selected Membership Type.
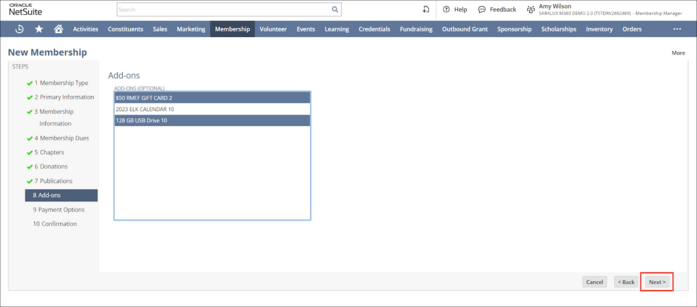
19. Select the desired add-ons for the member. You can hold down the Ctrl key for multiple selections. This is optional.
20. Click Next.
The New Membership > Payment Options Suitelet is displayed.
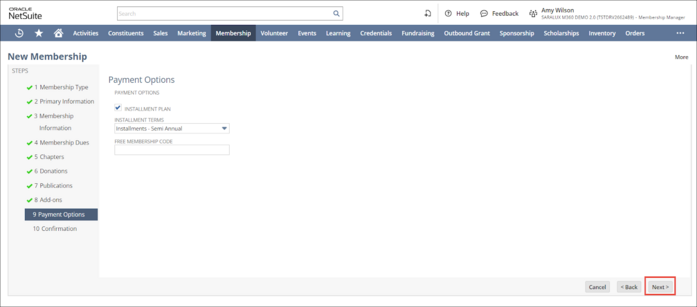
21. Check the box INSTALLMENT PLAN if you wish to enable the installment plan for the membership. Please note that checking this box is optional and not mandatory.
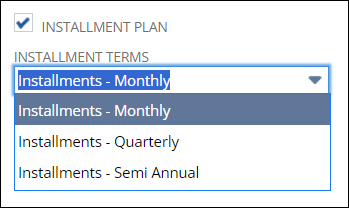
Note: On checking the box, the INSTALLMENT TERMS dropdown list is displayed, allowing you to select the desired time frame for the installment payment amount due.
22. Enter the FREE MEMBERSHIP CODE if applicable for this membership type. Please note this field is optional and not mandatory.
23. Click Next.
The New Membership > Confirmation Suitelet is displayed.
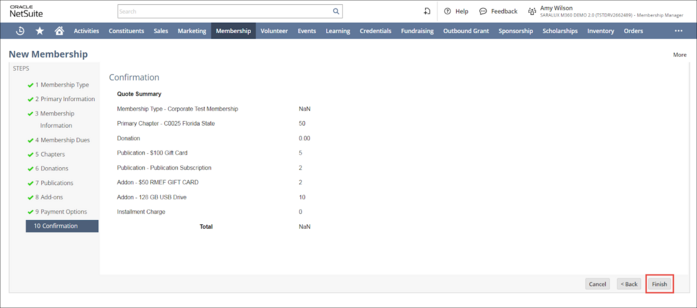
24. Review the membership summary and click Finish.
The membership quote / membership is successfully created.