 Home
Home
How to Add a Dashboard Tile?
You can add a dashboard tile to display the required information for easy access and understanding.
1. Navigate to Mem360 Home page and enter M360 - Dashboard Tile in the Search field.
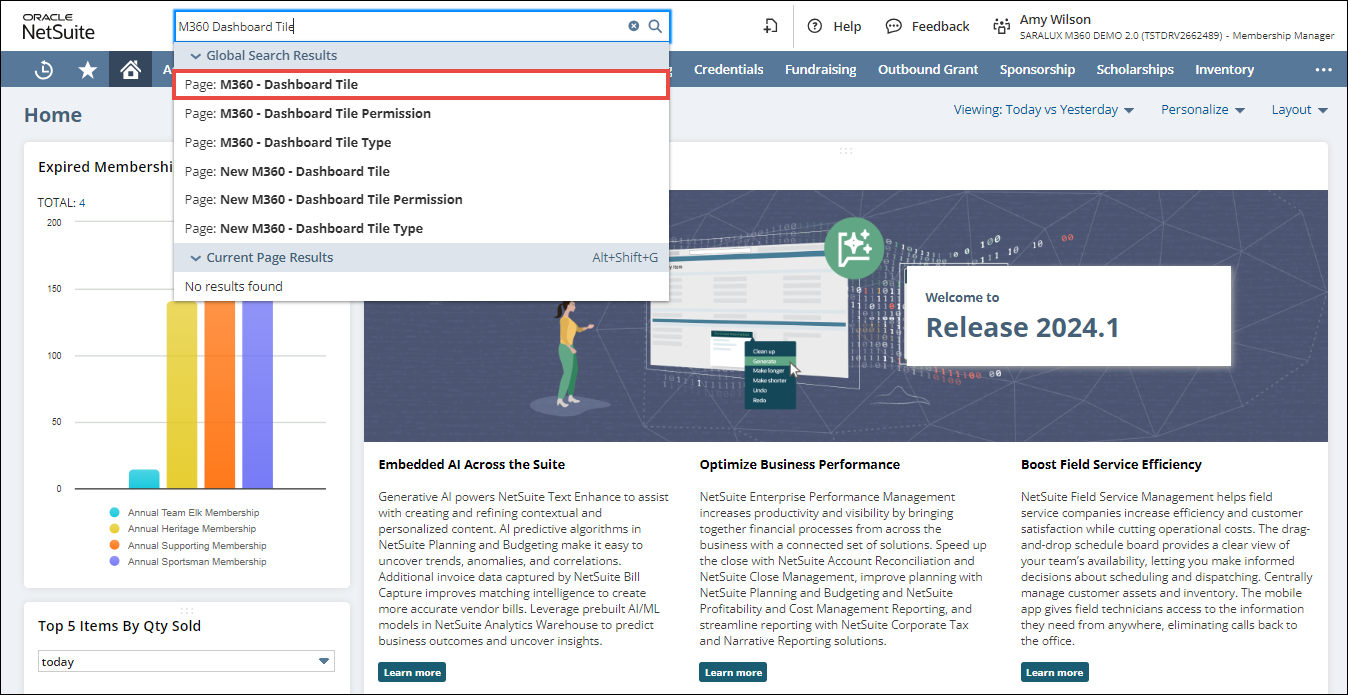
The M360 - Dashboard Tile List page is displayed.
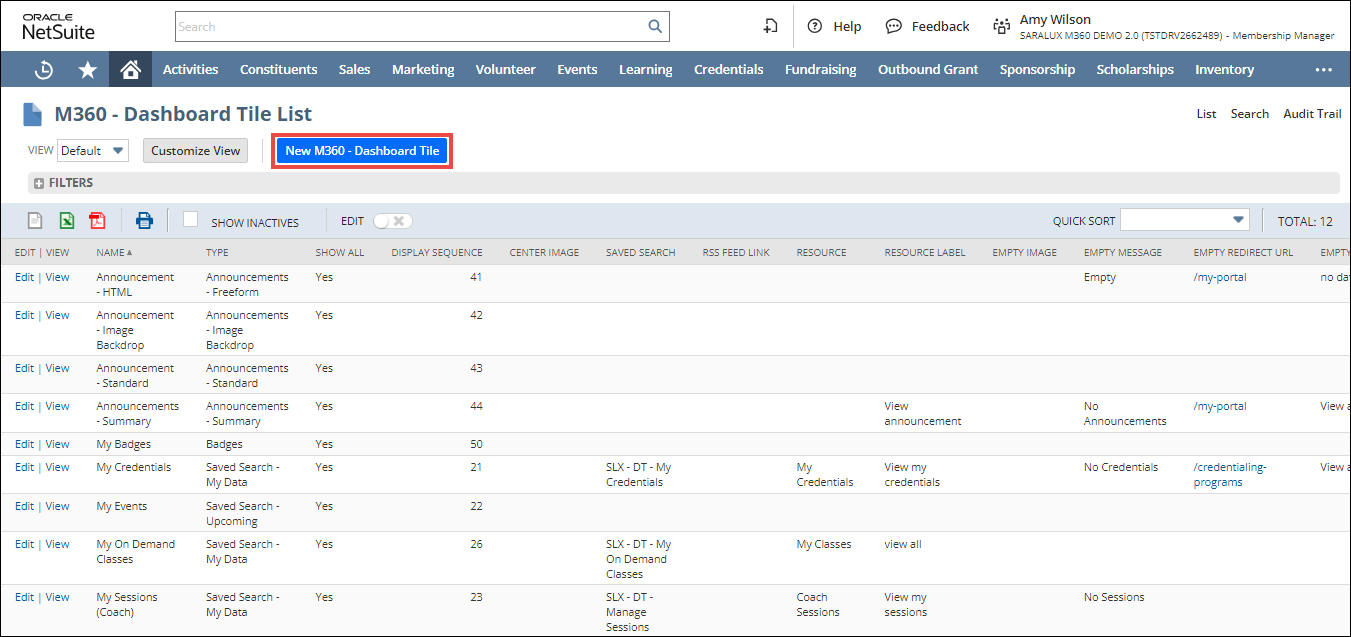
2. Click New M360 - Dashboard Tile.
The M360 - Dashboard Tile page is displayed.
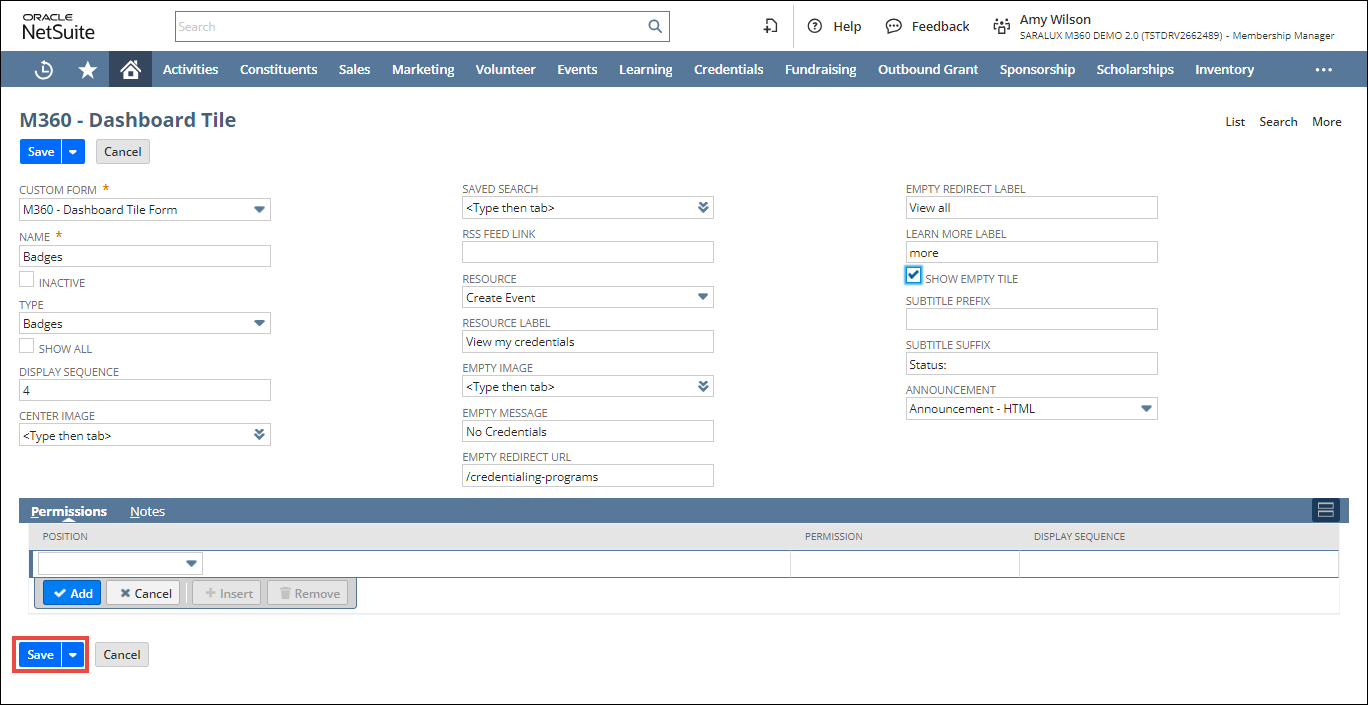
3. Enter/select the values in the fields as needed.
Please refer to the following sections:
Note: The fields may vary based on the information type chosen and displayed on the tile. In the following example, we are illustrating how to create a dashboard tile for announcements. You can follow similar steps for other information.
4. Once all the values in the fields are entered, click Save.
The dashboard tile is saved.
Primary Information
The Primary Information section within the Dashboard Tile form allows you to enter the related information regarding the tile in the associated fields.
Please refer to the table below for field names and their descriptions.
|
Field
|
Description
|
|
CUSTOM FORM
|
Preferred options available to customize the Dashboard Tile form
By default, the M360-Dashboard Tile Form is selected.
|
|
NAME
|
Name of the dashboard tile
|
|
INACTIVE
|
Deactivate this dashboard tile
|
|
TYPE
|
Type of information displayed on the tile
The available types are as follows:
Note: Upcoming tile has the Upcoming Text displaying brief information about the related event.
Note: The announcement should have the RENDER HTML box checked within the Announcement form to include HTML data.
|
|
SHOW ALL
|
Whether or not to display the tile to all users regardless of their Service Position
|
|
DISPLAY SEQUENCE
|
Default order of tile appearance on the dashboard
|
|
CENTER IMAGE
|
Image displayed in the center of the dashboard tile
|
|
SAVED SEARCH
|
Data resulting from search query predefined by the logged-in user to access relevant data without requiring to search for it each time
|
|
RSS FEED LINK
|
URL that delivers the latest updates or content from a source directly to a dashboard tile
|
|
RESOURCE
|
Direct access to the related information on the tile
|
|
RESOURCE LABEL
|
Text or title to link the Resource to the tile
|
|
EMPTY IMAGE
|
Default image displayed when no specific image is provided or available for the tile
|
|
EMPTY MESSAGE
|
Default message displayed on a tile when no specific information is provided or available
|
|
EMPTY REDIRECT URL
|
Default URL displayed when no specific link is provided or available for redirecting the users to more information on the tile
|
|
EMPTY REDIRECT LABEL
|
Text or label displayed as a link or button when the tile has no data
|
|
LEARN MORE LABEL
|
Text label to link users to additional information or resources related to the content or function of the tile
|
|
SHOW EMPTY TILE
|
Whether or not to show the empty tile
|
|
SUBTITLE PREFIX
|
Text at the beginning of a subtitle to provide context
|
|
SUBTITLE SUFFIX
|
Text at the end of a subtitle to provide context
|
|
ANNOUNCEMENT
|
Important information displayed for the targeted audience
|
Permissions
The Permissions section within the Dashboard Tile form allows you to configure specific permissions, such as access to users based on their Service Positions, setting the display sequence overriding the default permissions, etc.

Please refer to the table below for field names and descriptions:
Note: All the fields with an asterisk (*) are mandatory.
|
Field
|
Description
|
|
POSITION
|
Dashboard tile is displayed only to users in the specific selected position
|
|
PERMISSION
|
Action that can be performed on the dashboard tile by the users with the selected position
|
|
DISPLAY SEQUENCE
|
Order of tile appearance for the users with selected positions on the dashboard tile
Note that setting the Permission > Display Sequence overrides the Display Sequence set under Primary Information.
|